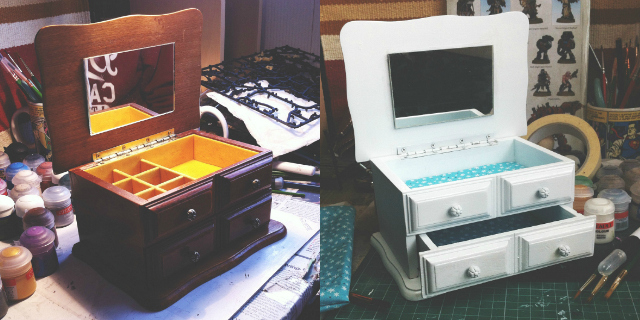
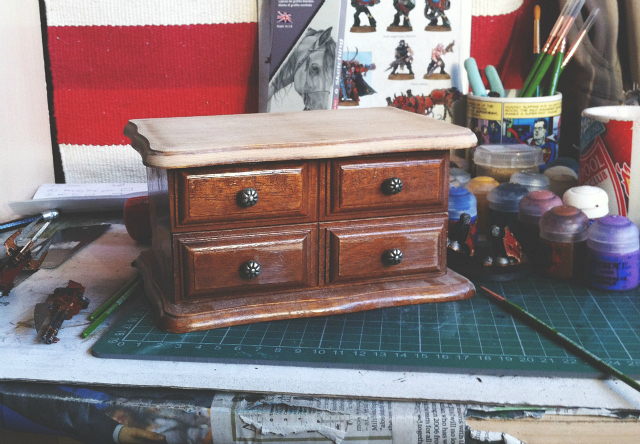
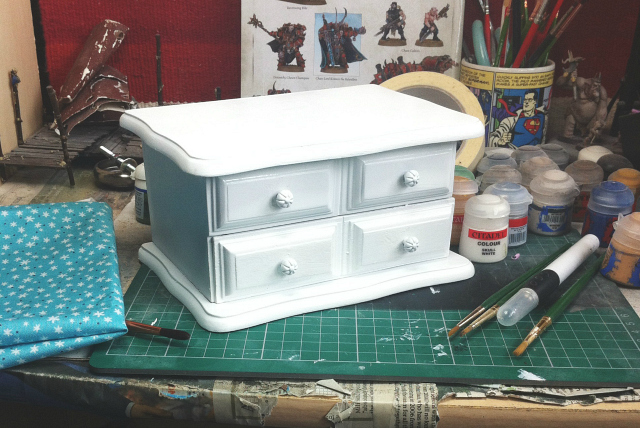
If you've been with us for a few months now, you'll remember that back in January we underwent a £5 charity shop challenge to buy gifts for one another. As a result, Luke managed to track down a pretty little jewellery box that was in need of a bit of TLC and we declared we'd refurbish it together. Not ones to go back on our word, here we are re-furbing the little beauty and giving it a new lease of life!
It's not something we've done before but we are quite pleased with the results of our first go! We're n00bs with regards to this sort of thing but this is how we did it...
you'll probably need:
utility / modelling knife, sandpaper, tape, acrylic water-based primer, paint or spray, foam sheets, needle and thread / stapler (optional), fabric, varnish and a pat on the back.
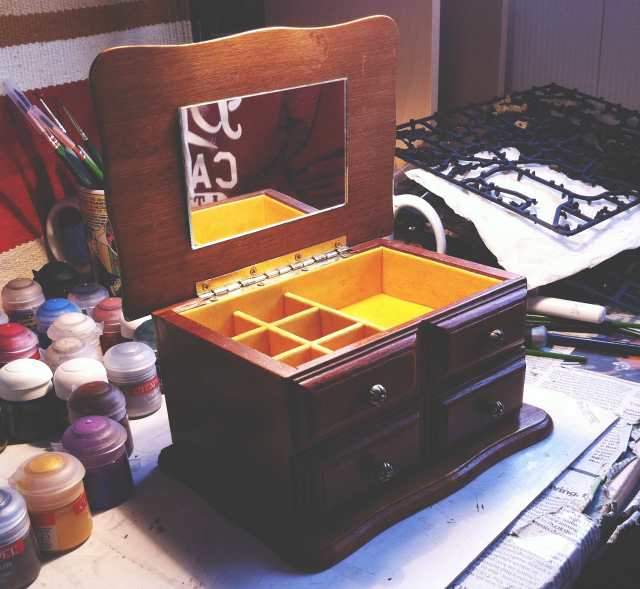

step one
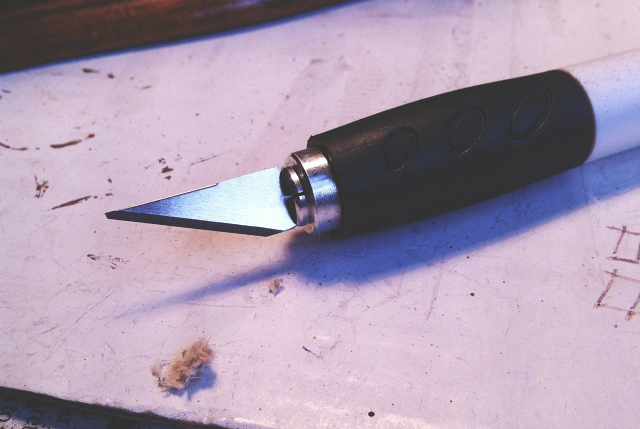
Cut away the interior until you're left with a blank canvas to work with.
step two
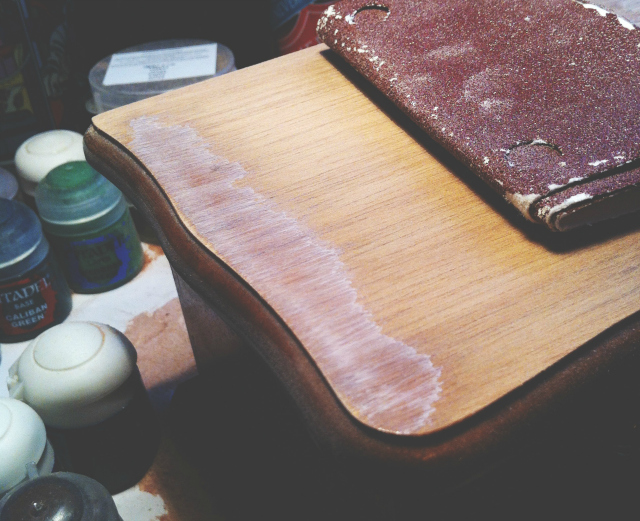
Sand all surfaces until you're left with a smooth finish.
step three
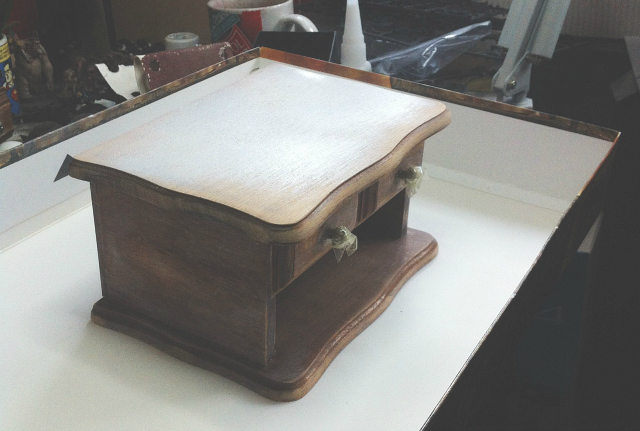
Make sure you tape all hinges, latches, handles and mirrors on the box that you don't want to be painted. Cut away the excess tape for a better paint job.
step four
Add a thin coat of acrylic water-based primer to the box and wait for it to dry. Paint on another coat if you think it's necessary. We forgot to do this step so our box is a little more rugged! Oops!

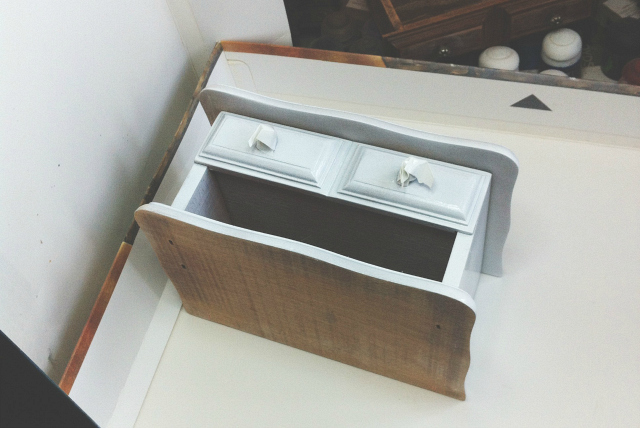
step five
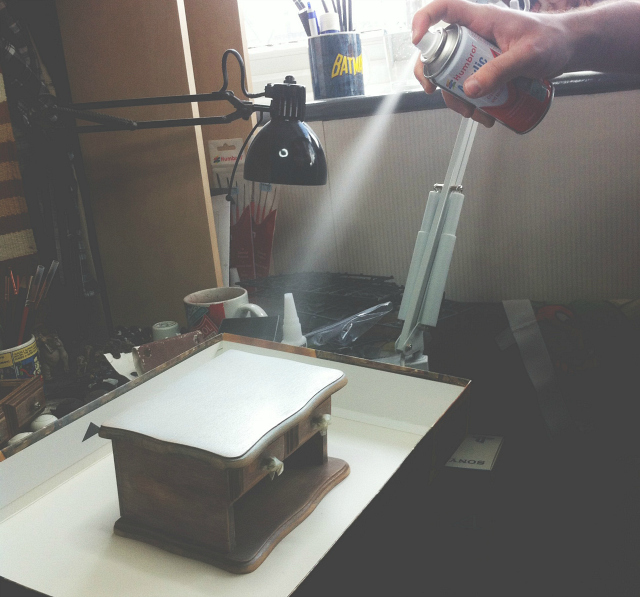
Paint / spray the box in the colour of your choice. We went for white because it's fresh and fits in with the colour scheme of its new home. Wait a little while for the first coat to dry before applying the next coat. Obviously.

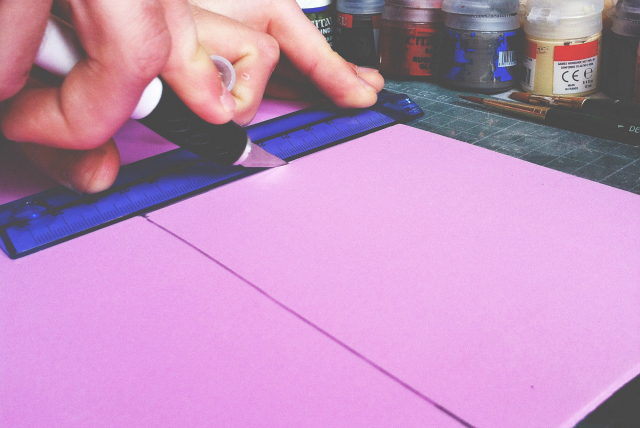
STEP FIVE
Cut your foam to size. We cut ours to the size of the drawers with a utility / modelling knife. Easy peasy!
STEP SIX
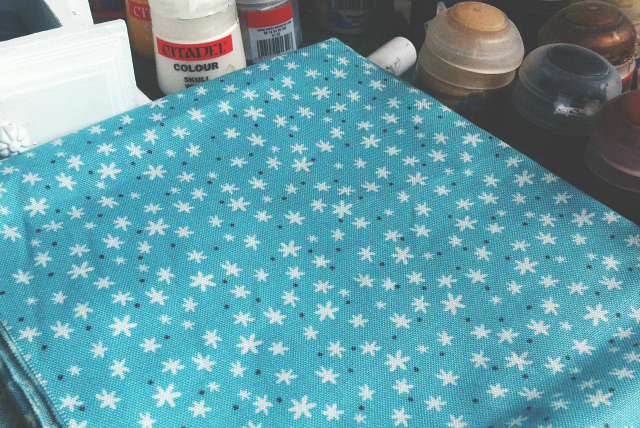
Iron your fabric, if necessary, before cutting it to size. You want it to be just a little bigger than your piece of foam so you can fold it around the edges.
STEP seven
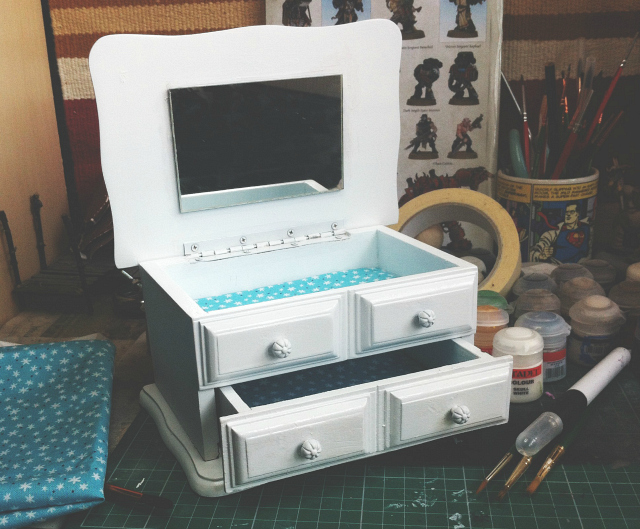
Tape / sew / staple your fabric to the bottom of your foam. Place it in its new bed fabric facing upwards.
STEP eight
Remove all tape from the mirror and other areas.
STEP nine
Apply varnish to the exterior, if you fancy.
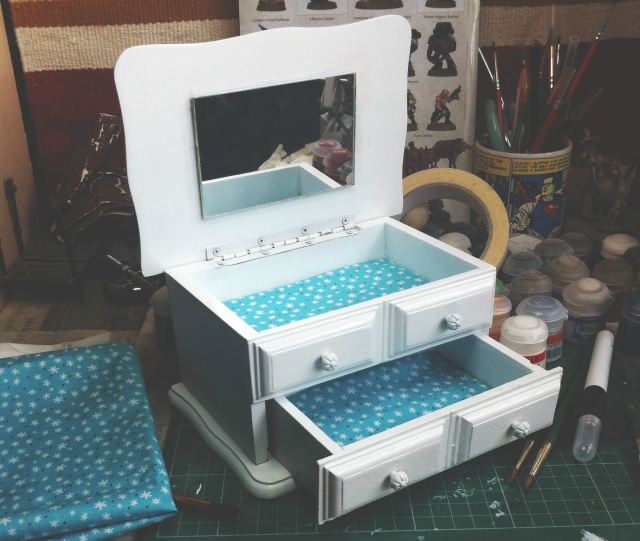
STEP ten
Marvel at your work, you crafty genius.
NOW THAT WE'VE SHARED OUR diy with you, TELL US...
• What do you think?
• Have you ever undertaken a re-furb project like this?
We're rather chuffed with the outcome. We have definitely caught the crafty bug of late! We'll see you on Sunday for our monthly film roundup. In the meantime, share your DIY stories in the comments!
with regards, THE FINER THINGS CLUB.
EMAIL US AT: THEFINERTHINGSCLUBBLOG@GMAIL.COM
Wow guys that looks amazing! It's lovely to see things given a bit of love and revamped into something even better. Just think how expensive something like the end result would have been in shops!
ReplyDeleteBella . BELLAETC
This is so pretty! I love the colours you used, especially that lovely fabric
ReplyDeletexxx
Nicely done! Such a good job and it looks really pretty!
ReplyDeleteSaskia / girlinbrogues.com
I have many Pinterest DIY's bookmarked and I think, one day I'll do that...but I never do! Im a bit diy challenged! This looks lovely though :)
ReplyDelete